Installing Java on your machine is different from installing the Java Development Kit which allows you to develop Java programs on your machine.
Follow the following steps to install Java on your machine
- Download Java from the Oracle website by clicking on the Free Java Download Button.
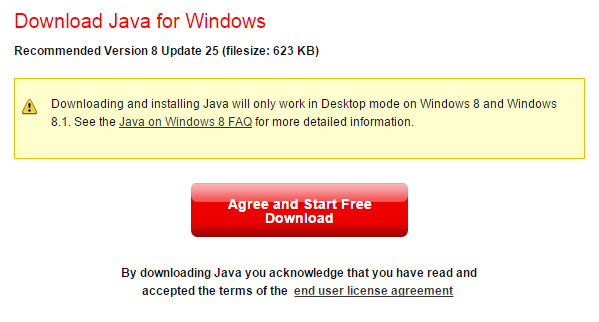
- You will be directed to the Java Download Page. Click the Agree and Start Free Download button
- It will download the installer to the browser you are using click on that installer
- Double click on the installer you downloaded. It will bring up a prompt. Press the install button to start the installation
- The installation would run in the background. When it is done, A new window will pop up. It will look like this.
- You will get a prompt to install Java in your browser.
- Click on it.
- Reload your page to activate it
- Open a command prompt window and type in java. You will get a response like this
- Congratulations. You have successfully installed Java.


No comments:
Post a Comment