Kuntinkantan means “puffed up extravagance”. It is the symbol of arrogance.
We will use the 5 pixel grid to trace out this image. The image of this is shown below:

This shape is easy to draw. It consists only of circles. It is a made up of a central circle that encloses the other 4 circles.
The plan to draw this shape is shown below:
- Lift the turtle
- Set the pen size to 20 pixels
- Move the turtle to the position (0, -90)
- Place the pen down
- Draw a circle of radius 90 pixels
- Lift up the pen
- Move the turtle to the position (-90, 10)
- Place the pen down
- Draw a circle of radius 80 pixels
- Lift up the pen
- Move the turtle to the position (90, 10)
- Place the pen down
- Draw a circle of radius 80 pixels
- Lift up the pen
- Move the turtle to the position (-90, -170)
- Place the pen down
- Draw a circle of radius 80 pixels
- Lift up the pen
- Move the turtle to the position (90, -170)
- Place the pen down
- Draw a circle of radius 80 pixels
Using Turtle Graphics
We will use the template.py file and rename it to kuntinkantan.py.
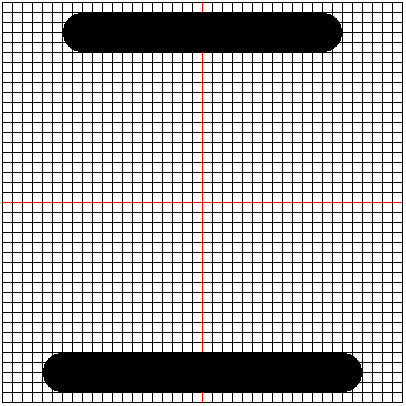
The code for steps 1 to 5 is shown below:
turtle.penup()
turtle.pensize(20)
turtle.setposition(0, -90)
turtle.pendown()
turtle.circle(90)
The generated image is shown below:

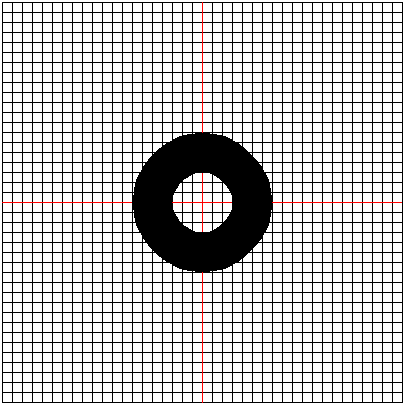
The code for steps 6 to 9 is given below:
turtle.penup()
turtle.setposition(-90, 10)
turtle.pendown()
turtle.circle(80)
The generated image is shown below:

The code for steps 10 to 13 is given below:
turtle.penup()
turtle.setposition(90, 10)
turtle.pendown()
turtle.circle(80)
The generated image is shown below:

The code for steps 14 to 17 is shown below:
turtle.penup()
turtle.setposition(-90, -170)
turtle.pendown()
turtle.circle(80)
The generated image is shown below:

The code for steps 18 to 21
turtle.penup()
turtle.setposition(90, -170)
turtle.pendown()
turtle.circle(80)
The generated image is shown below:

Conclusion
At the end of this section, we have successfully used Python turtle to draw the Kuntinkantan symbol.
If you look critically at this symbol, you would see a possible inspiration for the Olympics symbol.