
Git is a version control system that allows you to manage your projects. I plan to start a series on SVG with RaphaelJS and I intend to use Git for version control.
In order to install Git, please follow the following steps:
- Click the Downloads for Windows button on the page. It will redirect you to the page shown in the picture.

- Once your download is completed, double click on it and allow your user control to let the installation start.
- You will see a welcome screen. Click the Next button.

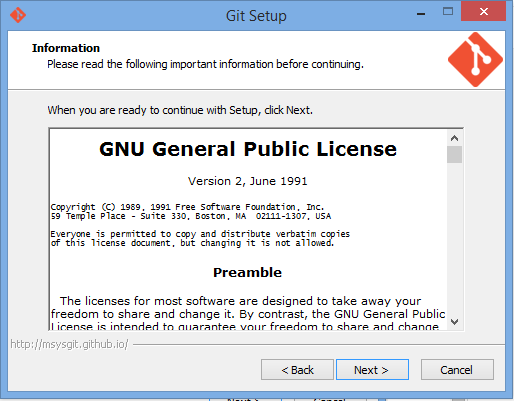
- You will see a license agreement. Click the Next button.
- Leave the default location.

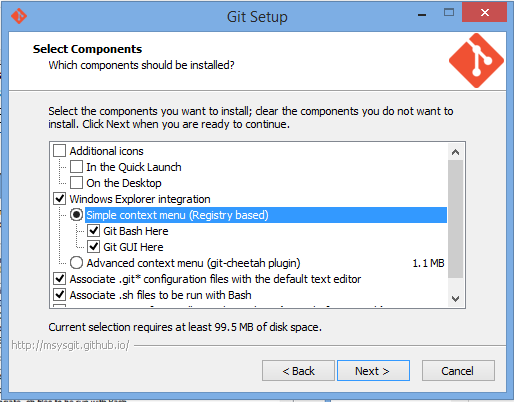
- In this screen we are given a choice of the components to install. Additional icons will place shortcuts to Git on your desktop as well as your quick launch bar. In the Windows Explorer Integration, you need to click both Git Bash and Git GUI as they will allow you use the Git command line and a GUI. This choice eliminates Git Cheetah a Windows client interface you could use with Git.

- So my selection is like this. I choose this because I want to use the Git command line as a lot of programs typically use it. Click the Next button.
- Leave the default startuup menu folder as Git. If you are on a 64 bit computer, leave the Don't create a Start Menu folder unchecked.

- Next you get a screen asking you to adjust your class path.
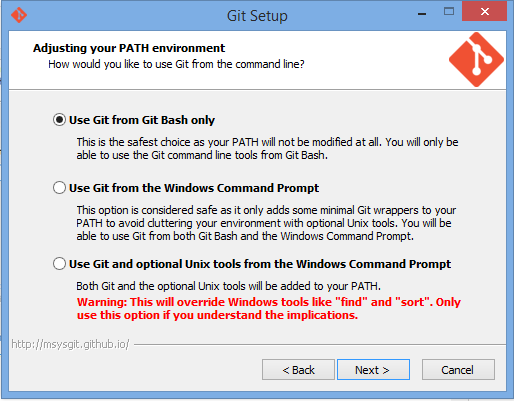
- I choose the last option. What it allows you to do is run Git from your command line. Then I click the Next button.

- It then takes us to the screen where we must configure the file ending. I choose the default then I click on the Next button.

- Now the process of installation begins.

- Congratulations, your installation is completed. Click the Finish button.

In my next post, I will go into how to set up Git for a first time user.
No comments:
Post a Comment